How To Use The Meta Business Suite
Are you looking for a complete tool to enhance the management of your Facebook business page? Are you interested in setting up Meta Business Suite for your group? Learn how to utilize Meta Business Suite in this post to effectively manage the Facebook business page and Instagram account for your company.
What Do Meta Business Manager and Meta Business Suite Mean?
The integrated social media management capabilities included in Meta were formerly branded as Facebook Business Suite and Facebook Business Manager. Both are available for free usage and each serves as a hub for managing Instagram and Facebook company profiles.
The two tools are similar, yet they also differ in several significant ways. Let's examine the differences between these two tools and consider how using them will help your team handle social media more effectively.
Meta Business Manager: What Is It?
You may manage resources like Facebook business pages, Instagram profiles, and ad accounts separately from your personal profile thanks to the software known as Meta Business Manager, which was introduced in 2014. You can request access to accounts, assign roles, and cooperate with team members by going to Meta Business Settings in Business Manager.
Quick access to tools for social media management duties like producing content and analyzing metrics is made possible by the Business Manager. From Business Manager, you may also access the tools for Meta Events Manager, Brand Collabs Manager, and Brand Rights Protection.
What then does the Business Manager not do? To begin with, Business Manager doesn't operate the same as the majority of social media management software. You shouldn't plan on being able to switch between profiles quickly or having a single tab where you can generate content, reply to engagement, and check insights for all of your Facebook pages and Instagram accounts. For each linked tool, a separate tab is required.
Collaborating with coworkers isn't especially simple in Business Manager either. For instance, the Business Manager does not allow you to share or control post drafts. Additionally lacking from this platform is an organic content calendar tool, which can make planning campaigns difficult.
Meta Business Suite: What Is It?
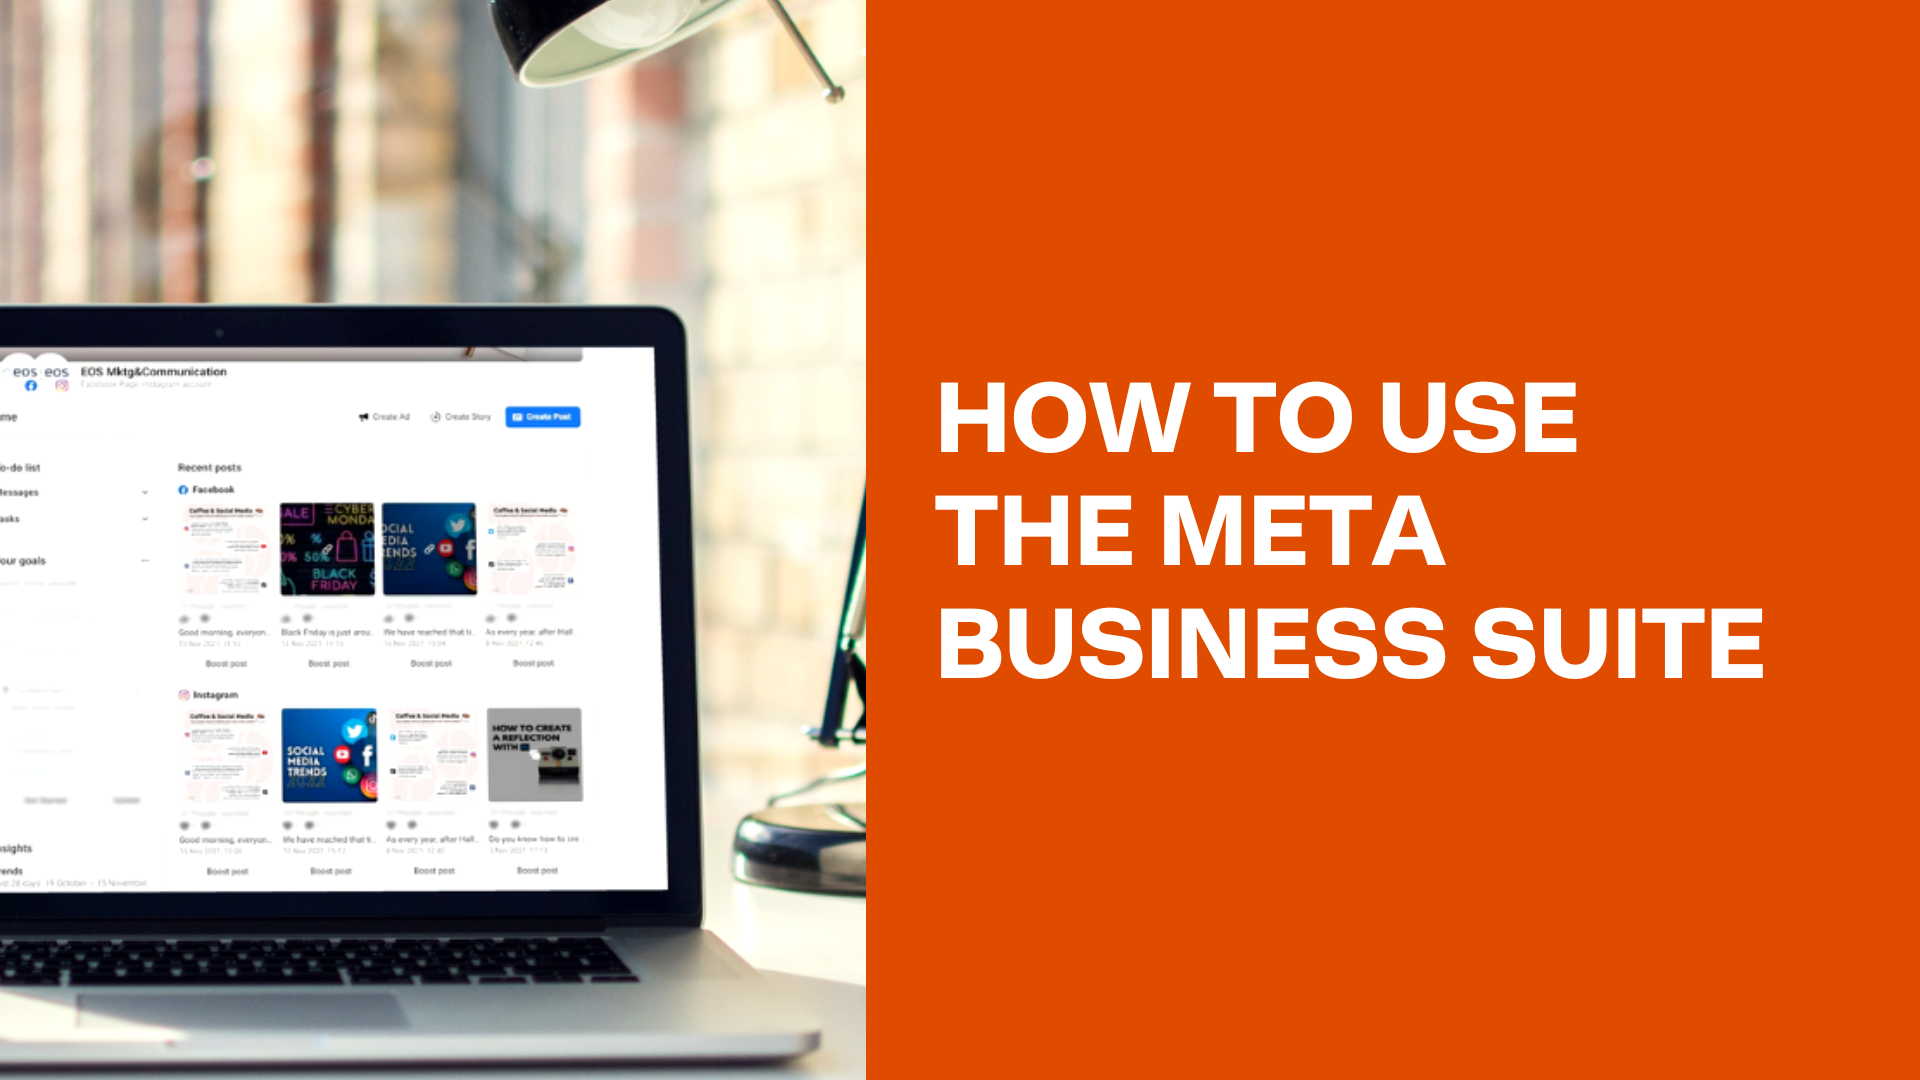
Meta Business Suite, a comprehensive social media management tool for Facebook and Instagram, was introduced in 2020. You can accomplish everything with this native application, including producing and scheduling content, responding to engagement, and evaluating findings. Additionally, you may manage materials, run advertising, and build organic campaigns.
You can perform all of the aforementioned duties (as well as many more) in a single tab because Business Suite works more like a standard social media management tool. You may switch between accounts using Business Suite as well, making it easy to administer Facebook and Instagram simultaneously. Virtually every Meta tool you require to operate your business is accessible with just one click thanks to Business Suite. As a result, you can easily configure eCommerce, order conversion events by importance, and control user roles and permissions from the tool's main menu.
Using Meta Business Suite to Run a Facebook Page and an Instagram Account: How to Set It Up and Use It
To manage Facebook and Instagram accounts with Meta Business Suite, simply follow the procedures listed below. Even though the majority of these duties may be done in the mobile app, the workflow can be difficult. Therefore, for this course, we'll use the Business Suite desktop version.
#1: Invite coworkers to the executive suite
Invite your team to collaborate with you in Business Suite first. Select the appropriate Meta business account using the drop-down menu in the upper-left corner of Business Suite. The account settings will then appear when you click the gear icon in the lower-left corner.
To evaluate or add people to your team, select the People tab. Click the Add People button in the top-right corner to send an invitation to a different team member. Remember that there should be at least two administrators on every corporate account. Beyond that, giving employees employee access or another limited-access status is typically the best option.
Choose the access level you wish to grant for each asset if you've already added Facebook business pages or other assets to your business account. Click Send Invitation if you're not yet ready to assign assets and finish configuring everything later. Please go to step #6 for suggestions.
#2: Add Facebook Pages to the Business Suite
Select the Business Assets tab in Business Suite to administer a Facebook business page. Then click Pages to view the pages that already belong to or are used by your business account. The Add Assets button is located in the top-right corner. Click it to add a new page to your account. choose Facebook Page next.
You can create a brand-new page right here for your company or transfer an existing one to your Meta business account. When you're employed by an agency, you can also ask to be added as a sharer on a client's Facebook page, which offers your team access without taking control of it entirely.
You have the ability to manage which team members have access once you've added a Facebook business page to your account. For a detailed walkthrough, refer to step #6 below.
#3: Add Instagram Accounts to Business Suite
You can include Instagram profiles into Business Suite with only a few clicks as well. Click the Add Assets button under the Business Assets tab. Afterwards, choose Instagram Account and accept the rules. You'll be asked to log into the Instagram account you want to add to Business Suite when you click the Claim Instagram Account option. After that, you can give team members access as needed.
#4: Link WhatsApp Accounts to Business Suite
Business Suite also supports adding WhatsApp business accounts. Select WhatsApp Account by clicking the Add Assets option. To finish the setup, you will be instantly transferred to Business Settings. After entering the phone number connected to the WhatsApp account you want to attach, click the Add button. After that, input the verification code that WhatsApp sends you. After getting a confirmation, the WhatsApp account will appear in Business Suite.
#5: Manage Ad Accounts in Business Suite
You can also claim and distribute advertising accounts for your company or clients using Business Suite. To access the Advertising menu, click the Add Assets option. Decide whether you wish to claim, share, or create a new account after selecting Ad Account.
Without leaving Business Suite, you can make an ad account claim or create one. However, you will be sent to Business Settings automatically if you need to share an ad account. You can seek access to client accounts there by following the on-screen instructions.
#6: Assign Roles and Permissions to Colleagues
Assigning roles to each team member is now possible after adding a Facebook company page, an Instagram account, and other assets to Business Suite. Let's first examine the rights you can grant to each asset.
Choose the page or account you want to manage from the Business Assets tab of Business Suite. Then click the Add People option while still on the Page Access tab. To grant coworkers complete account access, toggle the Manage Page switch. Alternatively, you might choose to provide community managers, advertisers, and analysts with specific permissions. As an alternative, you can control each team member's permissions. This process is much quicker if you need to give a new team member a lot of resources.
Open the People tab in the Business Suite settings and choose a team member. Click the Assign Assets button in the top-right corner to assign a new role. Check the assets you want to assign after reviewing each asset category. Make sure to select the appropriate level of access for each asset. To apply the settings, next, click the Save button.
#7: List Services in Business Suite
You have the choice to list all of your services on your Facebook business page if you are in charge of marketing for a service-based company. By doing so, you can increase interest and draw in additional clients.
In Business Suite, enter the All Tools menu and choose Services to configure services. Click the Add a Service button after that.
Set the price and duration, add a name and a description, and submit an image.
#8: Take Appointment Requests in Business Suite
You can do more with Business Suite than just list your services. Additionally, you can accept appointment requests and reserve services. Open the All Tools menu in Business Suite and choose Appointments to set up appointment scheduling.
Open the Settings page after that to set up appointments. You can define preferences for appointment approval and notification as well as availability, and you can automate reminders. On the Appointments page, you may check and confirm the time slots that customers have reserved.
#9: Configure Business Apps in Business Suite
You have access to a wealth of integrated marketing tools with Meta Business Suite. But with Meta's collection of business apps, you may frequently book more appointments, sell more goods, or create better artwork.
Select Business Apps from the All Tools menu in Business Suite to view your options. For instance, you can utilize applications like Acuity to block off time on your calendar or Fresha to organize appointments at the salon and spa. For reservations at restaurants, you may also use applications like Reserveout and Resy.
In order to assist you in creating more effective creative content, Business Suite also integrates with design applications like Canva and Vimeo. Open any of these apps from the Business Apps menu, select Open App, and then follow the on-screen instructions to set up your account. Keep in mind that while many of these apps are free, others demand a monthly subscription.
#10: Structure File Manager and Creative Asset Access in Business Suite
You may utilize Business Suite capabilities to organize creative assets whether or not you decide to use one of the creative business apps. Using the File Manager in Business Suite makes it easier to monitor permitted creatives and make sure that everyone on your team is utilizing the appropriate resources.
Choose File Manager from the All Tools menu. To begin, click the Create Folder option. Name the folder and, if desired, include a description. To keep your team organized, you can make folders for campaigns, themes, seasons, social media platforms, and other categories. Click the Add Files button to add images or videos.
You can choose assets you've uploaded to file manager directly from Business Suite's content creation tool, or you can write articles or Stories directly from File Manager (see below for more details).
Select Edit Folder Permissions from the View Folder Settings menu in the top-right corner to share file manager folders with your team. After being redirected, go to Business Settings to add users to the folder. As an alternative, you can add individuals directly from Business Suite by going to the Business Assets tab in the settings.
#11: Plan, Draft, Publish, and Schedule Social Media Content in Business Suite
Launch the Planner tab in Business Suite to collaborate on content creation with your team. You can either choose any day from the calendar or click the Create option in the upper right. Then, you can write posts for Facebook and Instagram independently or concurrently.
Use the drop-down menu under Add Photo or Add Video and choose Add From File Manager to use the creatives you organized in the file manager. Employ the integrated A/B test option if you're having trouble deciding which creative or copy to use (available for Facebook only). Up to four variants may be made, with the winning version being chosen by Meta.
You have the option to schedule, publish, or save the article as a draft whether or not you set up an A/B test. You can also plan material using Business Suite's Optimal Times function to publish it when your audience is most likely to be online.
Use the Moments function of the planner to aid in the content planning process. To begin writing a post on the subject, click any of the automatically created moments. You may also access Vimeo video templates by clicking the See Templates button to get started. To create moments for your own company, click the + sign. These occasions might serve as reminders for your team to publish seasonal content that is pertinent to your company. When you click it, an immediate post will be created.
#12: Manage Facebook and Instagram Engagement in Business Suite
You can manage your Instagram and Facebook activity using Business Suite. All messages and comments from the two platforms are gathered under the Inbox tab and placed in one folder. You can choose specific folders to handle Messenger, Instagram Direct, or comments on their own.
Use the Assign Conversation option to make sure each item in your inbox is sent to the appropriate individual in order to manage your Business Suite inbox effectively. Customers, influencers, and user-generated content may all be tracked using the built-in labels and notes system.
#13: Review Social Media Analytics in Business Suite
Click the Insights tab in Business Suite to examine audience performance and audience growth. To get a bird's eye view of your performance and identify trends in reach and growth, use the Overview page. Then select the Results, Content, and Audience tabs to see your accomplishments in greater detail. For instance, the Material tab gives you the option to sort by the metrics of your choice, making it simple to locate the best content for your team based on reach, clicks, comments, shares, or other metrics.
To keep your team on track, you may utilize the built-in goal-setting feature in Business Suite. Set the audience or growth-related goal you wish to accomplish over the following 28 days by clicking the New Goal button. Then frequently check the Insights page to see how things are going.
Conclusion
You can easily set up the social media management tool for your team with this Meta Business Suite tutorial. You can use Business Suite to manage both organic and paid campaigns for your Facebook business page and Instagram account once you've added your team and finished the setup.